
How to Fix Globe SIM Registration Errors Quickly
The SIM Registration Act (RA 11934) has made it mandatory for all mobile phone users in the Philippines, including Globe customers, to register their SIM cards. This registration is important for ensuring mobile security, reducing fraud, and protecting users’ personal data. However, some users might encounter errors during the Globe SIM registration process, leading to confusion or frustration.
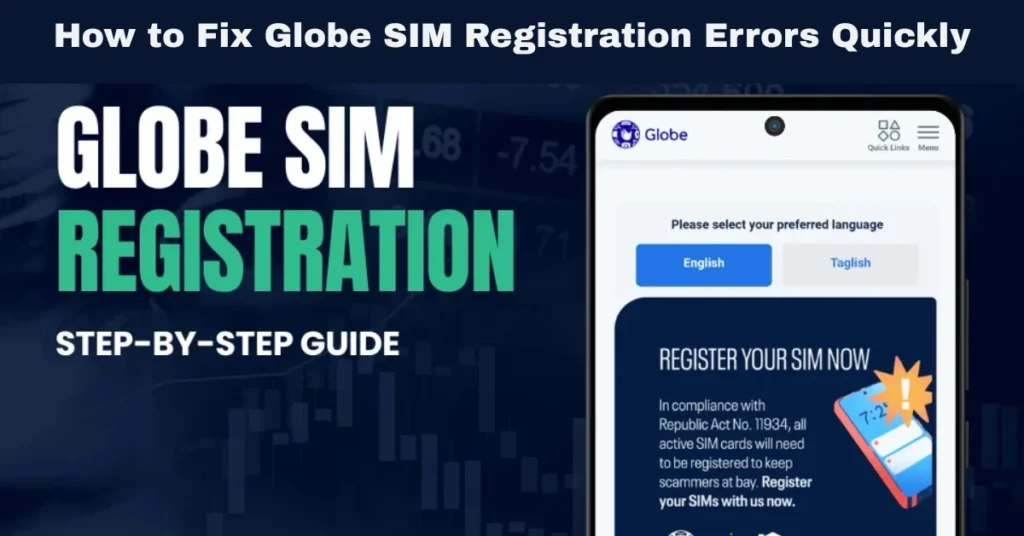
If you’ve experienced an error while registering your Globe SIM, don’t worry! In this guide, we’ll walk you through the most common registration issues, how to resolve them quickly, and ensure that your registration process goes smoothly.
Why Do Errors Happen During Globe SIM Registration?
Errors during Globe SIM registration can arise for several reasons. These include issues related to the information provided, system glitches, or problems with document uploads. Here are some common reasons for registration errors:
Incorrect Personal Information: Typos or mismatches between your details and the ones on your government-issued ID.
Unclear or Invalid Documents: Photos of IDs or selfies that are blurry, expired, or unclear.
Expired or Invalid ID: Using an expired ID or an ID that is not accepted by the system.
Internet or System Connectivity Issues: Slow or unstable internet connections can disrupt the registration process. SIM Ownership Mismatch: Trying to register a SIM that was previously registered under someone else’s name.
No matter the error, Globe provides solutions to help you fix the issue quickly. Here’s what you can do:
Common Globe SIM Registration Errors and How to Fix Them
Error: Mismatched Information (Name, Birth Date, Address)
One of the most common errors during SIM registration is mismatched information between what you entered and what is shown on your government-issued ID. Here’s how to fix it:
Solution: Double-Check Your Details
If the error is related to spelling or data entry, correct it and retry the registration.
Error: Unclear or Invalid ID Upload
If your government-issued ID or selfie is blurry, illegible, or expired, your registration will fail. Here’s how you can fix this:
Solution: Re-upload Clear, Valid Documents
Re-upload the corrected photo and try the registration process again.
Error: Invalid ID Type
If you’re using an unaccepted ID type (e.g., a non-government-issued ID), registration will fail.
Solution: Use an Accepted ID
Ensure that you are using a valid government-issued ID for registration. Here are the accepted types of IDs:
If you’re not using one of these IDs, switch to an accepted ID and retry the registration.
Error: Failed Selfie Verification
Sometimes, the selfie verification might fail if the ID or your face is not clearly visible.
Solution: Take a Better Selfie
Position the ID properly in the selfie: Hold it up clearly and ensure the text on the ID is visible. The text should be legible, and your face should be fully visible in the selfie.
Lighting matters: Make sure the lighting is good to avoid shadows or glare on your ID. Natural light is often the best option for clear photos.
Avoid filters: Ensure your selfie is natural, with no filters or editing that could distort the image.
Take a clearer selfie and re-upload it for successful verification.
Error: Network or Connectivity Issues
If your internet connection is slow or interrupted during the registration process, it might cause errors.
Solution: Use a Stable Connection
Once you have a stable connection, retry the registration and avoid interruptions. You can also read: What Is Globe’s Policy on SIM Registration Extensions?
Error: SIM Ownership Mismatch (Second-hand SIM)
If you’ve bought a second-hand SIM card or a SIM card that was previously registered by someone else, it may show an ownership mismatch.
Solution: Complete Ownership Transfer
General Tips for Fixing Globe SIM Registration Errors
Register Early to Avoid Last-Minute Problems
It’s best to register your Globe SIM as soon as possible, especially as the SIM registration deadline approaches. Avoid waiting until the last minute, which could lead to increased errors or technical difficulties.
Double-Check Your Documents
Before starting the registration, double-check your documents. Ensure that your ID is valid and clear, your personal details are correct, and you have a good quality selfie.
Use Globe’s Customer Support
If you’re facing issues with the registration process, Globe customer support can assist you. You can reach them through:
Globe customer service hotline
Globe online support channels (e.g., chat support on their website or app)
In-store assistance at any Globe store
FAQs
Final Words
While Globe SIM registration can sometimes result in errors, most issues are easy to fix. By following the steps outlined in this guide, such as double-checking your details, ensuring your ID and selfie are clear, and using a stable internet connection, you can fix any registration problems quickly and easily.


