
Globe SIM Registration for Expats Latest Update 2026
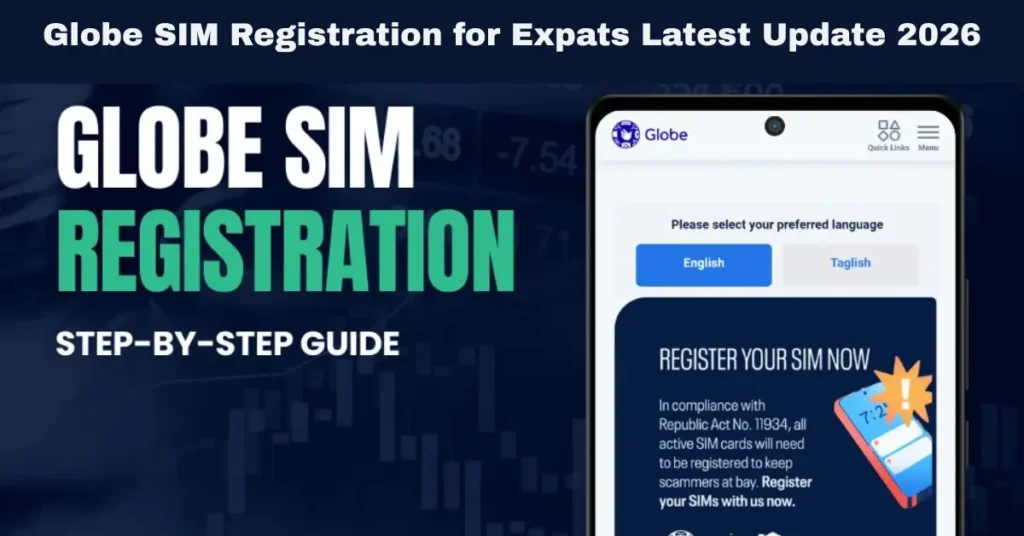
The SIM Registration Act (RA 11934) has made it mandatory for all mobile phone users in the Philippines to register their SIM cards, including expats (foreign nationals) living in the country. If you’re an expat in the Philippines and need to register your Globe SIM, it’s important to understand the process, requirements, and what to expect.
This quick guide will walk you through the steps of Globe SIM registration for expats, what documents are required, and how you can ensure a smooth registration process.
Why Is SIM Registration Important for Expats?
SIM registration is part of a broader effort to ensure accountability and security in mobile services. By linking every SIM card to a verified identity, the government aims to:
For expats, registering your Globe SIM ensures you have continuous access to mobile services like calls, texts, data, and even financial services like GCash. It also ensures you are not at risk of losing your services due to non-compliance with the law.
Documents Required for Expats Registering a Globe SIM
As an expat, you will need to provide specific documents to register your Globe SIM. Here are the key requirements:
Foreign Government-Issued ID
Expats are required to provide a valid foreign government-issued ID to verify their identity. Accepted documents include:
Proof of Philippine Address (if applicable)
If you’re residing in the Philippines, you may need to provide proof of address. This helps ensure that your registration is accurate and up-to-date. Acceptable documents include:
Selfie with Your ID
In addition to the ID, you will need to take a selfie of yourself holding your foreign government-issued ID. This selfie is used for identity verification to ensure the person registering the SIM is the same person as the one on the ID.
How to Register Your Globe SIM as an Expat
Expats can register their Globe SIM cards through multiple methods. Below is a step-by-step guide to help you complete your registration. You can also read: Is Globe SIM Registration Mandatory for All Devices?
Registering via the GlobeOne App
The easiest way to register your Globe SIM is by using the GlobeOne app. Here’s how:
Download and Open the GlobeOne App
Navigate to the SIM Registration Section
Enter Your Personal Details
Upload Your Foreign ID
Take a Selfie with Your ID
Submit the Registration
Registering via Globe Website
You can also complete the SIM registration process via the Globe website. Here’s how:
Visit the Globe SIM Registration Website:
Go to the official Globe SIM registration page on their website.
Enter Your Personal Information:
Fill out the registration form with your full name, date of birth, address, and other personal details. Make sure the information matches your foreign ID.
Upload Your Foreign ID and Selfie:
Upload a clear photo of your foreign government-issued ID and take a selfie holding the ID for identity verification.
Submit the Registration:
After reviewing your details, click Submit to complete the registration.
You will receive a confirmation message once your registration is successful.
Registering In-Store (For Assistance)
If you prefer in-person assistance or encounter any issues with online registration, you can visit a Globe store. Here’s how to complete your registration in person:
Visit a Globe Store:
Bring your foreign government-issued ID and any required proof of address documents.
Approach a Globe representative who will assist you with the registration process.
Provide Your Documents:
You will need to show your ID and provide the necessary proof of address (if applicable).
Take a Selfie:
The store staff will help you take a selfie with your foreign ID for verification.
Submit the Registration:
Once the information is verified, the store representative will complete your registration.
You will receive a confirmation SMS when the process is completed.
Challenges Expats Might Face During SIM Registration
While registering your Globe SIM as an expat is generally straightforward, there are a few challenges you might encounter:
Lack of a Philippine Address
If you are an expat living in the Philippines, you may not have a permanent address yet. In such cases, providing a barangay certificate, utility bill, or lease agreement can help resolve the issue.
Issues with Foreign ID Verification
Sometimes, a foreign ID may not be immediately accepted if it’s expired or unclear. Ensure that your foreign ID is valid, not expired, and the photo is legible. If there’s an issue with your ID verification, Globe store representatives can assist with the registration process.
Limited Internet Access or Smartphone Use
Some expats may not have access to a smartphone or the internet for online registration. If this is the case, visiting a Globe store for in-person assistance is the best option.
FAQs
Final Words
Registering your Globe SIM as an expat is a simple process that requires you to provide your foreign government-issued ID, proof of address (if applicable), and a selfie for identity verification. Whether you choose to register via the GlobeOne app, the Globe website, or visit a Globe store for assistance, the process is straightforward and ensures compliance with the SIM Registration Act.


