
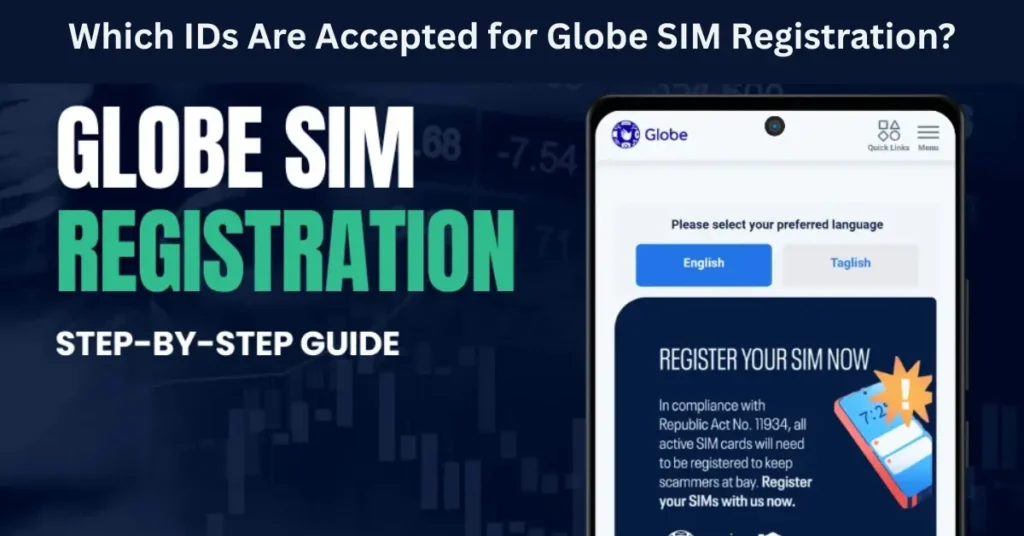
Which IDs Are Accepted for Globe SIM Registration?
If you’ve been trying to register your Globe SIM and wondering which IDs are accepted for registration — and how the details on your ID need to match the registration info — you’re not alone. Many people are confused about the required ID types and the process of uploading them correctly. The SIM registration process is crucial under the SIM Registration Act (Republic Act No. 11934), which is mandatory for all Filipinos and foreign nationals who wish to use a mobile network in the Philippines.
This guide will explain which IDs Globe accepts for SIM registration, why matching your ID details matters, and how to avoid common mistakes during registration.
What Is SIM Registration and Why Is It Required?
SIM registration is a mandatory process under the SIM Registration Act, a law designed to improve mobile security, reduce fraud, and create a safer environment for mobile users in the Philippines. It requires all prepaid and postpaid SIM cards to be linked to your personal information.
This registration ensures that your SIM card is legally connected to your identity, helping authorities track and address any misuse of mobile services. Not registering your SIM can lead to the deactivation of your mobile services, meaning you’ll lose access to calls, text messages, and mobile data.
As part of the registration process, you’ll need to upload a valid government-issued ID. But how do you make sure your ID matches your registration details to avoid rejection? Let’s dive in.
Which IDs Are Accepted for Globe SIM Registration?
Globe SIM registration accepts several valid government-issued IDs for identity verification. Here’s a detailed list of IDs you can use for registration:
1. Philippine National ID (PhilSys ID)
2. Passport
3. Driver’s License
4. Voter’s ID
5. Unified Multi-Purpose ID (UMID)
6. SSS ID (Social Security System)
7. GSIS e‑Card (Government Service Insurance System)
8. NBI Clearance
9. PRC ID (Professional Regulation Commission)
10. Postal ID
11. PhilHealth ID
12. Police Clearance
13. Senior Citizen’s Card
14. PWD (Person with Disability) Card
How Do the ID Details Need to Match During Registration?
Full Name and Details
Your full legal name (including middle name, last name, and suffix) must match exactly what’s on the ID you’re submitting. If there’s a mismatch, like using your nickname or abbreviated name, the system may reject your application.
Tip: Always ensure that your first name, middle name, and last name are written exactly as they appear on the government ID.
Date of Birth
Your date of birth must match what is listed on the ID. Entering the wrong birthdate could cause the system to flag your registration.
Tip: Double-check your birthdate on the ID and compare it with the one you enter during the registration process.
Address
For certain IDs like the Driver’s License or Voter’s ID, your address is also listed. Make sure the address you enter in the registration form is the same as the one on your ID. If your ID doesn’t have an address listed, you can enter your current address as per your official records.
Tip: If the address on your ID has changed, update it with the relevant authorities before attempting SIM registration.
Valid and Unexpired ID
Make sure that the ID you are submitting is valid and unexpired. An expired ID will not be accepted. Always check the expiration date on your ID to ensure it’s still valid.
Tip: If your ID has expired, get it renewed before submitting it for SIM registration.
How to Submit Your ID for SIM Registration
Here’s how to submit your ID for Globe SIM registration smoothly and easily:
Choose Your ID
Select one of the accepted government IDs listed above.
Ensure the ID is clear, readable, and unexpired.
Take a Clear Picture or Scan
Make sure the details on your ID (photo, text, etc.) are legible.
Ensure the photo quality is good to avoid blurry or unclear images.
Avoid shadows, glare, and reflection on your ID.
Upload the ID
Once you’ve chosen a valid ID and prepared the scan/photo, go to the SIM registration page on the Globe website, GlobeOne app, or visit a Globe store to upload your ID.
Double-Check All Details
Before you finalize your registration, review the information you entered, especially your name, birthdate, and address, to ensure it matches the ID details exactly. After submitting your ID and filling out all necessary information, you will receive a confirmation. If you’ve used the online registration, you may get a confirmation code or reference number for tracking.
Common Reasons Why IDs Get Rejected
Mismatch in Details
If your name, address, or birthdate on the ID doesn’t match the details you entered, your SIM registration might be rejected. It’s important to make sure everything matches exactly.
Expired or Invalid ID
Expired IDs will be automatically rejected. Make sure your ID is valid and not expired.
Poor Quality Image
If the image of the ID is unclear, blurry, or difficult to read, it will be rejected. Always submit a clear, high-quality image.
Incorrect File Format or Size
Ensure the file is in a supported format (PDF, JPG, PNG) and within the size limit.
FAQs
Final Words
In conclusion, registering your Globe SIM is essential to ensure you can continue using mobile services without interruption. To make the process as smooth as possible, use a valid government-issued ID from the list above.
Ensure the details match exactly what’s on your ID.
Upload a clear, readable image of your ID.
Double-check the expiration date of your ID to avoid rejection.
If you follow these steps, your SIM registration process should go smoothly. If you encounter issues, don’t hesitate to reach out to Globe customer service or visit a Globe store for assistance. By keeping your ID details accurate and up-to-date, you’ll ensure your SIM remains activated and fully functional.


